My mom is super crafty, and growing up, we were always doing art projects or diy-ing something. Tie-dye shirts, and multi-colored ribbon scrunches as kids, sip and paint outings as adults – you name it. Luckily, I inherited her crafty nature. Because let’s be honest – nothing beats a rainy-day craft or a trip to Michael’s with no projects in mind but time to kill.
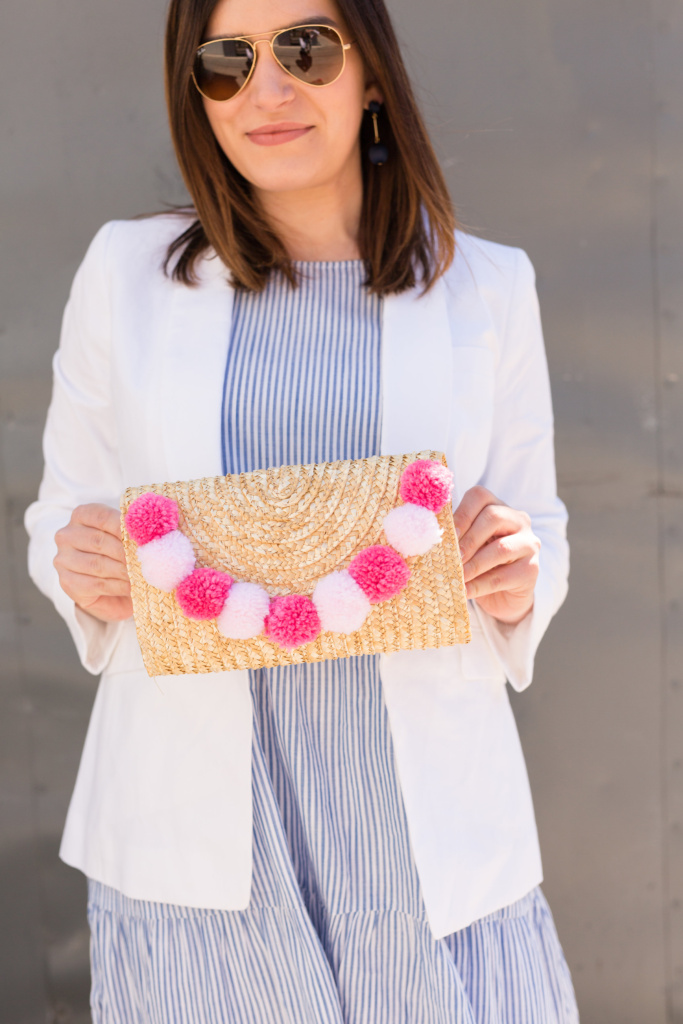
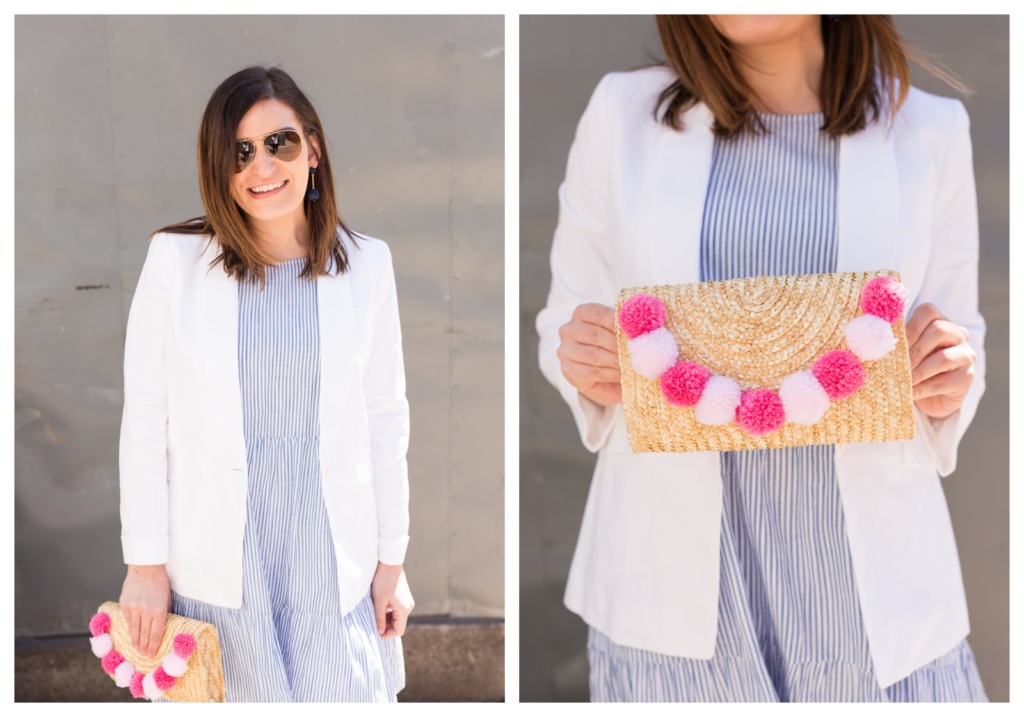
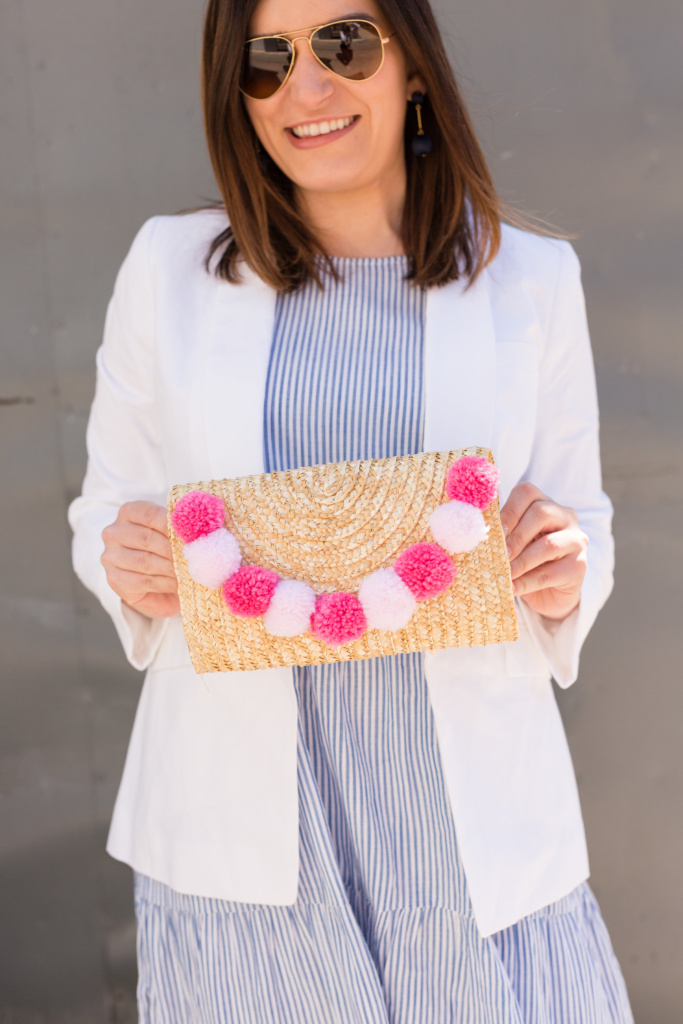
A couple months ago, Katie from Make to Celebrate posted a picture of straw clutches she found at Michael’s on Instagram, and I had to copy her. My pom-pom straw-clutch from last summer was one of my favorite pieces, so that was my inspo to create something similar, but different for spring and summer 2018. A couple trips to Michael’s and $13 later, and I had everything I needed to make a DIY pom-pom clutch!
If you’re not crafty – no problem. This project could not be easier – I promise. My aunt doesn’t think of herself as a crafty person, but we still had a wild Saturday night of DIY-ing. I convinced her to make a clutch, and promised that it would be an easy project that anyone could do. This was not a lie! Once we figured out how to use the darn pom-pom maker, we were in business!
DIY pom-pom clutch
Materials:
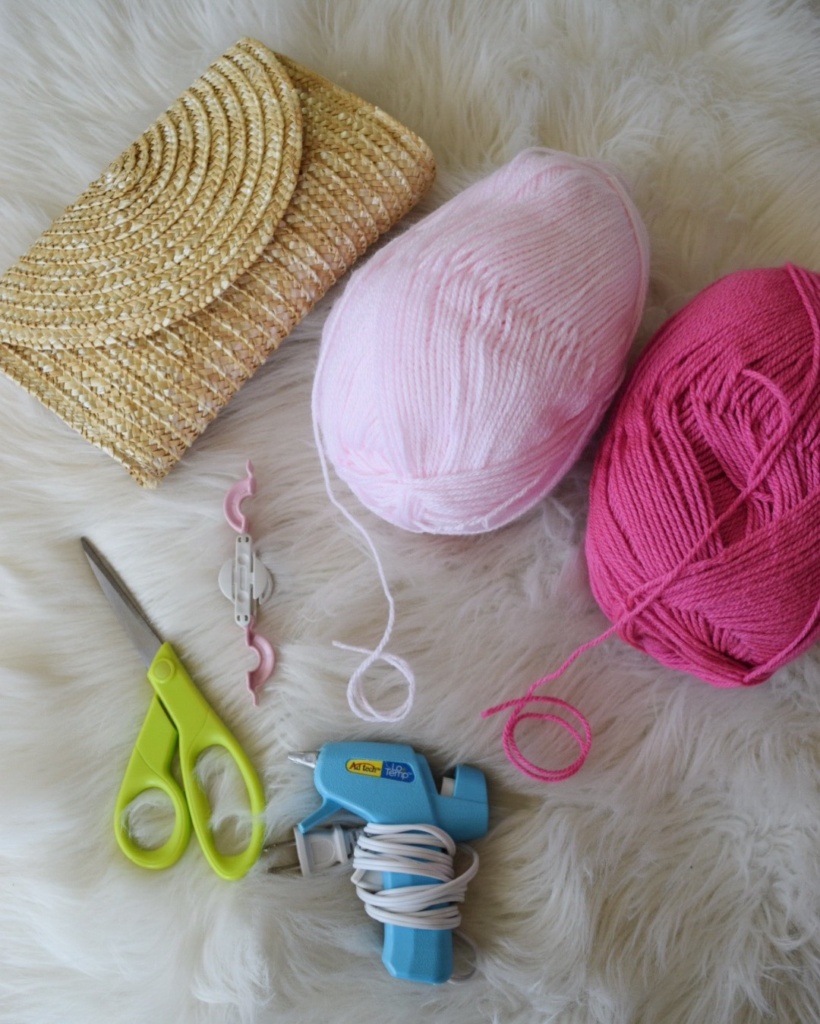 Straw clutch – Michaels {in stores for only $4!}
Pom-pom maker {if you have a lot of patience, you could probably make them by hand. Or if you have no patience, you can buy poms}
Yarn {My aunt used black, and I used two shades of pink – blush and something bit brighter.}
Scissors {Make sure they’re really sharp, because they have to cut through a lot of yarn.}
Two steps to make your DIY pom-pom clutch
 1. Make your poms
Once you actually figure out how to use this pom-pom maker, this step can easily be done while sitting on the couch watching TV. That being said, it took us a while to figure out how to use it. The first pom wasn’t actually a pom, but rather random pieces of tiny string.
Basically, you need to extend the double arms on each side of the circle. Take the yarn and wrap it up and down the curve of the arm. The poms look better when they’re full, so wrap the yarn around the curve until it’s filled to the brim. Close that side and do the same thing to the double arm on the other side.
Now that the yarn is fully wrapped around both sides of the circle, cut through the yarn in between the two arms on both sides. Tie a piece of yarn through the middle of the circle, and trim all of the oddly long and out-of-place string.
Extend the arms and separate the tool in half. When you pull it a part, it kind of feels like you’re going to break it, so just give it a little twist – it’s supposed to separate.
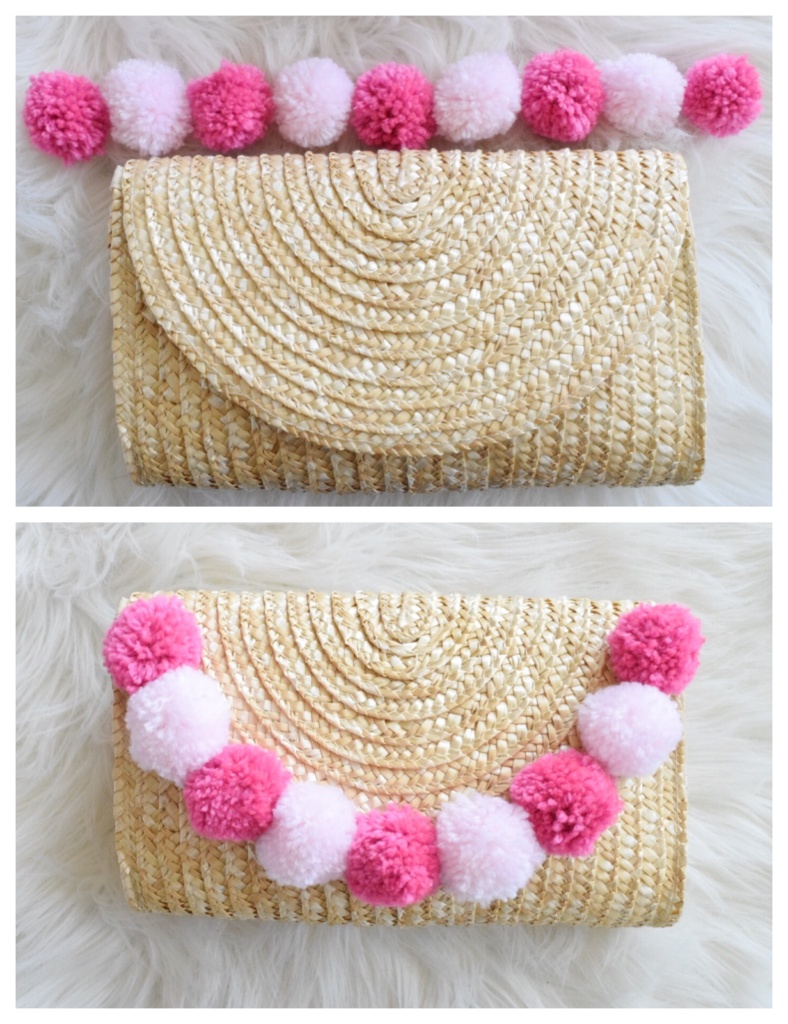
Voilà – you have a pom! If you plan to full the entire outline of this clutch with small poms, you’ll need nine, so plan your colors accordingly! I preferred the dark pink poms, so I made five of those and four of the light pink.
And if this seems like too much unnecessary work, you can buy poms – this was just a more inexpensive and customizable option.
 2. Design your clutch
Before you glue the poms down, organize them on top of the clutch and decide on your design. As a rule of thumb, I always prefer to use an odd number. My aunt centered three black poms, and I covered the entire outline of the clutch with nine poms. I think five-centered poms would have been cute, too!
You’ll place the first pom in the center of the clutch, and build from there. Take your hot glue gun and put a dab of glue on the top of the seam in the center of the clutch. Place your pom on the glue – press and hold it down for a few seconds until the glue cools and the pom is secure. You can also put the glue on the pom and press down, but I think it’s easier to be precise if you put the glue on the bag.
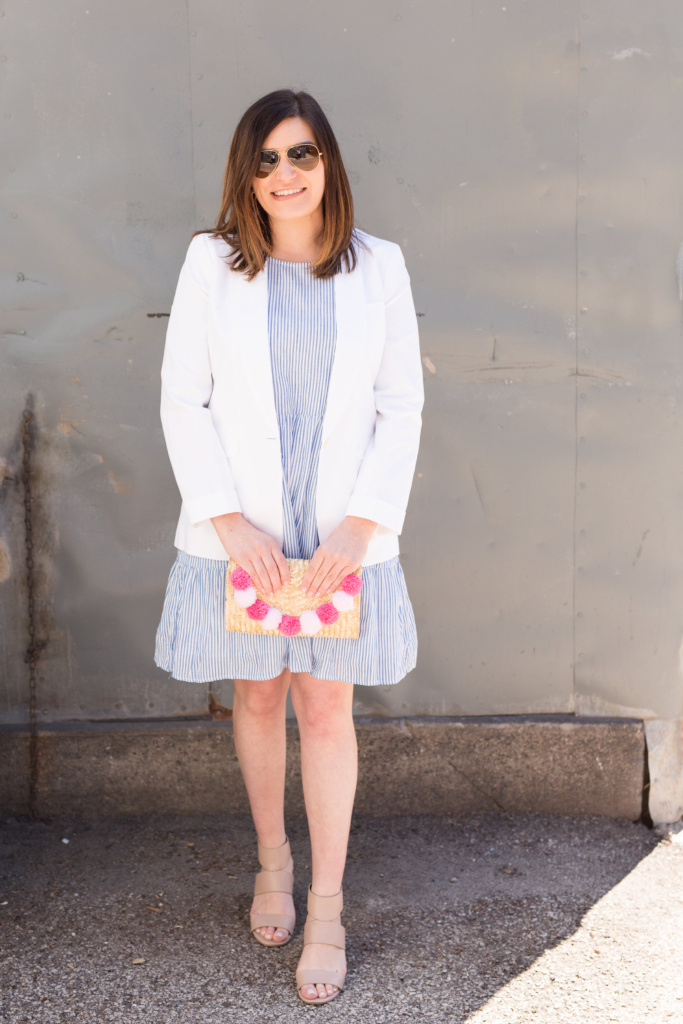
After you glue all of the poms down, style your DIY pom-pom clutch with a cover up at the pool or to add a pop of color to spring or summer outfit like I did with an outfit that is perfect for work, a baby shower or a fancy brunch!
Since this is such a fun, easy and cheap project, I’ll probably make a couple different color combos. It’s probably going to be my go-to clutch!
Fill me in!
Are you a fan of DIY projects? Tell me in the comments below! If you make your own DIY pom-pom clutch, tag it on Instagram with the hashtag #GildedGalMakes, so I can check it out!!
And, don’t forget to show the whole look. Here are the deets:
Photos by the talented Stephanie of Stephanie G Photography.
