Growing up, I was a Girl Scout and my mom, the leader, was the queen of the DIY-craft. Some brag about getting their mom’s perfect nail beds, but in honor of Mother’s Day {hi, mom ??}, I’m proud to say that I inherited her craftiness.

It feels necessary to point out that craftiness and artistic ability are NOT the same thing. My mom has both. On the very opposite end of that scale, I was encouraged to drop my painting class when I studied abroad, because the teacher could tell in the first class that my painting skills were a total flop. So, yeah – painting? Not my thing, but boy – give this girl some modge podge, faux-flowers or a hot glue gun, and watch her go.
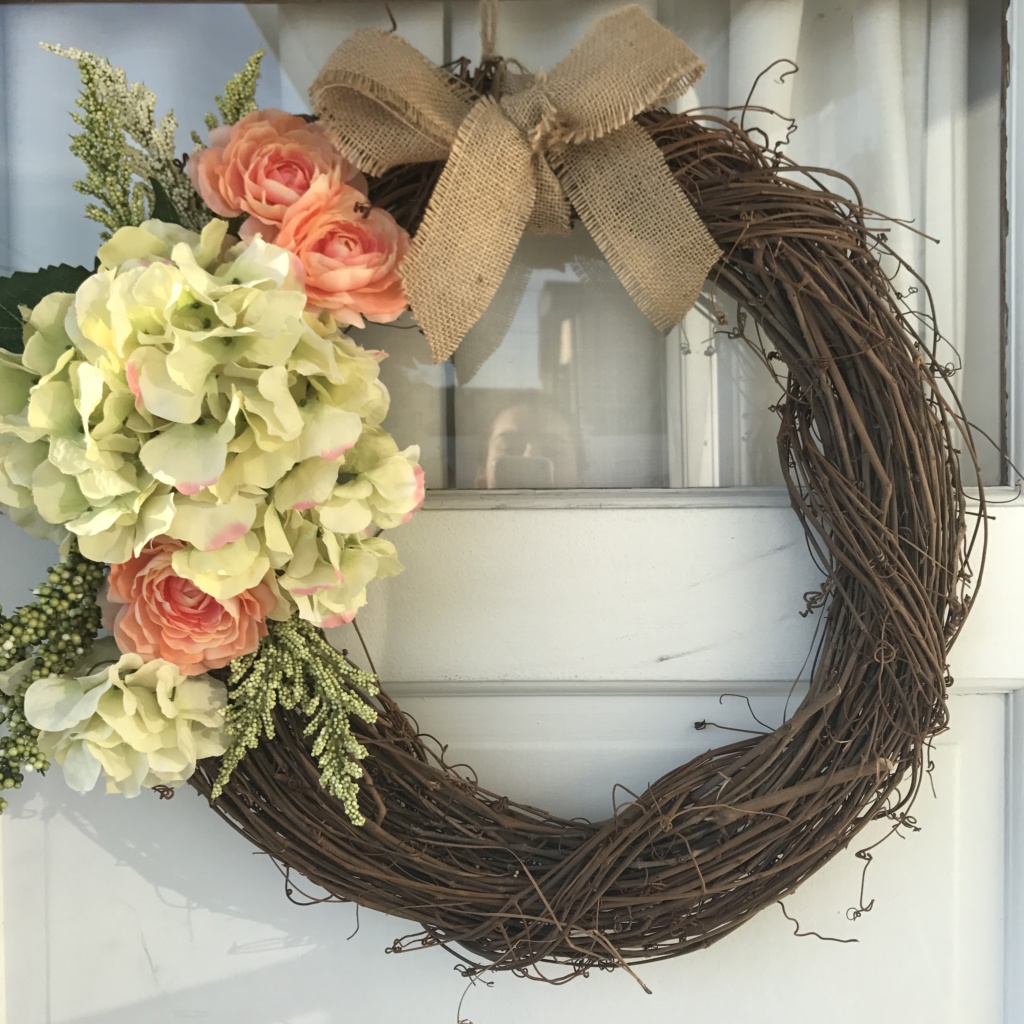
Regardless of how old I get, I still think that giving your mom something homemade for Mother’s Day is as thoughtful a gift as any. One of my recent DIYs was a springy wreath. This was my first time dabbling in the wreath-making scene, and I couldn’t believe how ancient I felt buying these supplies at JoAnn Fabrics. Nevertheless, I persisted, and for only $20, I had everything I needed to make my first DIY-wreath – compared to the pre-made wreaths I found online for $90, this was a steal!
What you need to make a wreath of your own:
- 1 grapevine wreath {I went with the 18” frame}
- Flowers of your choosing
- I made mine with faux-flowers that were made for outdoor use, although you can use real flowers, too. It obviously won’t last as long, but I’m sure I’d be gorge! Follow the same steps below
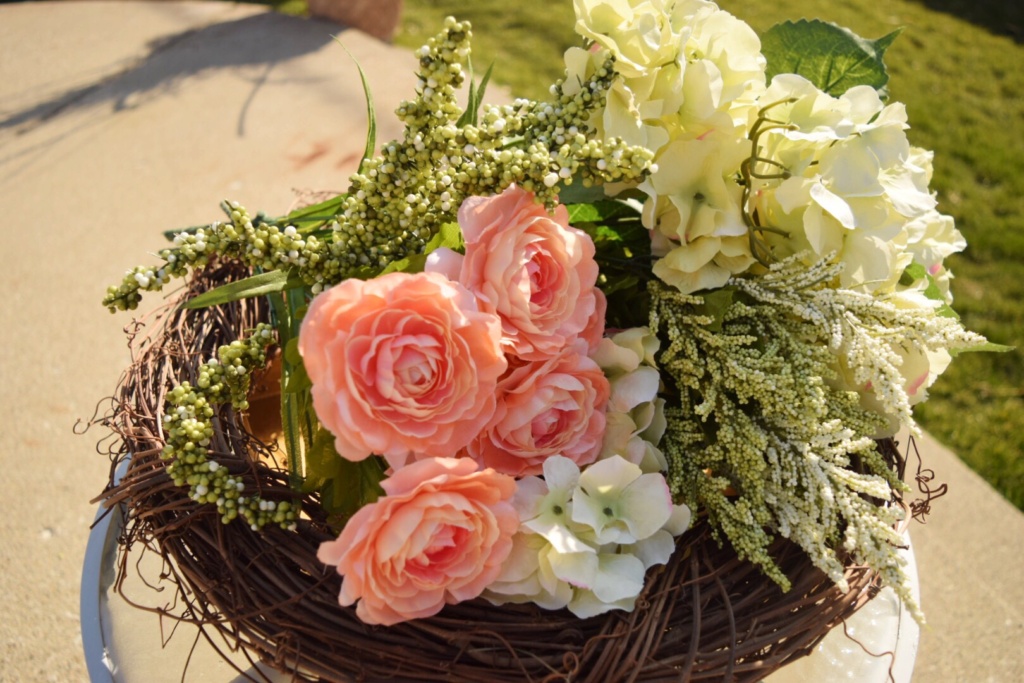
- For the 18” wreath, I used four bundles of flowers
- Two stems of berry sprays {I bought one white & one with a green & white mix}
- One bouquet of spring hydrangeas {white}
- One bush of pink confetti roses
- Burlap roll
- Hemp string {optional}
- Wire clippers

So, how do you make a wreath? You seriously won’t believe how easy it is!
- Once you have an idea of what kind of wreath you’d like to make, purchase your supplies
- Check out Retail Me Not before heading to your craft store of choice!
- Use your wire clippers to trim the flowers down to your desired length
- Remember: you can always take more off, but you can’t add more on, so don’t get too clipper-happy – it’ll make arranging the wreath much trickier
- Make sure to cut single stem flowers to make arranging easier, too
- Once you know where you want to place your flowers, take each stem and intertwine it into the wreath. Make sure that you are going through the middle of the wreath, so that the stems aren’t sticking out the back side
- I like to mix up the three flowers in a random order, so that it doesn’t look too perfect, but you can arrange the flowers how ever you want
- If you’re feeling super ambitious, cover the entire wreath with your favorite blooms!
- The best part about this is that you can keep the same wreath frame every season if you just swap out the flowers
- In my opinion, a bow is always necessary! Cut about two feet of burlap or ribbon and tie your bow – there is no “right place” to tie your bow, but I like to keep it separate from the flowers
- Voila! You have officially made a gorgeous spring wreath ? Give this to your mom for a sweet Mother’s Day gift, bring it as a hostess gift or keep it for yourself – you deserve it ?
***Optional: Take a foot of thin hemp and tie it around the top of the wreath. You can use this as a more decorative / sturdy way to hang up your wreath from a hook.
FYI – if you successfully make this wreath {you will!}, you’re officially crafty, too!
Happy Mother’s Day to all the moms out there, especially mine! Hope you have a fabulous day full of ❤
xAlex